
Wondering how to install a storm door without hiring a contractor? It’s one of the smartest home improvement moves you can make. Whether you want to boost your home’s energy efficiency, add a layer of weather protection, or upgrade your entry door’s curb appeal, a storm door delivers all three. The best part? You don’t need to be a seasoned professional to get it done.
This guide walks you through exactly how to install a storm door from start to finish. We cover what a storm door is, how to measure correctly, every installation step in plain English, and the mistakes beginners most often make. By the end, you’ll have everything you need to tackle this project with confidence.
What Is a Storm Door?
A storm door is a secondary exterior door installed in front of your main entry door. It creates a buffer zone between the inside of your home and the outdoor elements. Think of it as a protective shell for your primary door.
Storm doors typically feature aluminum or steel frames with glass or screened panels that you can swap depending on the season. In winter, the glass panels block cold drafts. In summer, the screen panels let in fresh air while keeping insects out.
Key Benefits of a Storm Door
- Energy efficiency: Storm doors reduce heat loss in winter and heat gain in summer, helping lower your energy bills. According to the U.S. Department of Energy, they can improve a door’s efficiency by up to 45% in homes with older, single-pane entry doors. [Link to Energy.gov]
- Weather protection: They shield your primary entry door from rain, wind, snow, and UV damage, extending its lifespan considerably.
- Ventilation: Screened panels allow cross-ventilation without opening your main door, improving airflow on mild days.
- Security: An added door layer provides a visible deterrent against forced entry.
- Curb appeal: Modern storm doors come in dozens of styles and finishes to complement your home’s exterior.
Tools and Materials You’ll Need
Before you learn how to install a storm door, get your tools ready. Having everything on hand saves you from mid-project trips to the hardware store, which always happens at the worst moment.
Tools
- Power drill and drill bits
- Screwdrivers (Phillips and flathead)
- Tape measure
- Level (24-inch recommended)
- Hacksaw or tin snips (for trimming the door rail)
- Pencil or marking tool
- Safety glasses and work gloves
Materials
- Storm door kit (includes door, frame, hinges, handle, and closer)
- Exterior-grade screws (usually included in the kit)
- Caulk and caulk gun
- Weather stripping (check if included in your kit)
Most storm doors come as complete kits with everything pre-packaged. Read the manufacturer’s instructions alongside this guide. The fundamentals are the same, but minor details vary by brand.
How to Measure for a Storm Door
Measuring correctly is the single most important step in storm door installation. A door that’s even a quarter-inch off won’t seat properly, and returns are a headache. Here’s how to measure a storm door the right way.
Width Measurement
Measure the width of your door opening from the inside of the brick molding (the trim frame) on one side to the inside on the other. Take three measurements: at the top, middle, and bottom of the opening. Use the smallest measurement to ensure the door fits without forcing.
Standard storm door widths are 32″, 34″, and 36″. Most entry doors are 36 inches wide, the most common size on the market.
Height Measurement
Measure the height from the door sill (the threshold at the bottom) to the top of the door opening inside the brick molding. Take measurements at three points (left, center, and right) and use the smallest. Standard heights are 80″ and 81″.
Sizing Tips and Common Mistakes
- Measure the opening, not the existing door. Always measure the rough opening frame.
- Account for the door sill height if it sits above floor level.
- Round down, not up. You can trim a rail; you can’t stretch a frame.
- Write measurements down immediately. Don’t rely on memory when shopping.
- Bring your measurements to the hardware store and ask staff to confirm sizing before purchase.
- Check whether the hinge side of your door is on the left or right; this determines which “hand” of storm door to buy.
Step-by-Step Guide to Installing a Storm Door
Now for the main event. This is how to install a storm door, broken down into five manageable steps. Take your time, work methodically, and check alignment frequently. The whole project typically takes two to four hours for a first-timer.
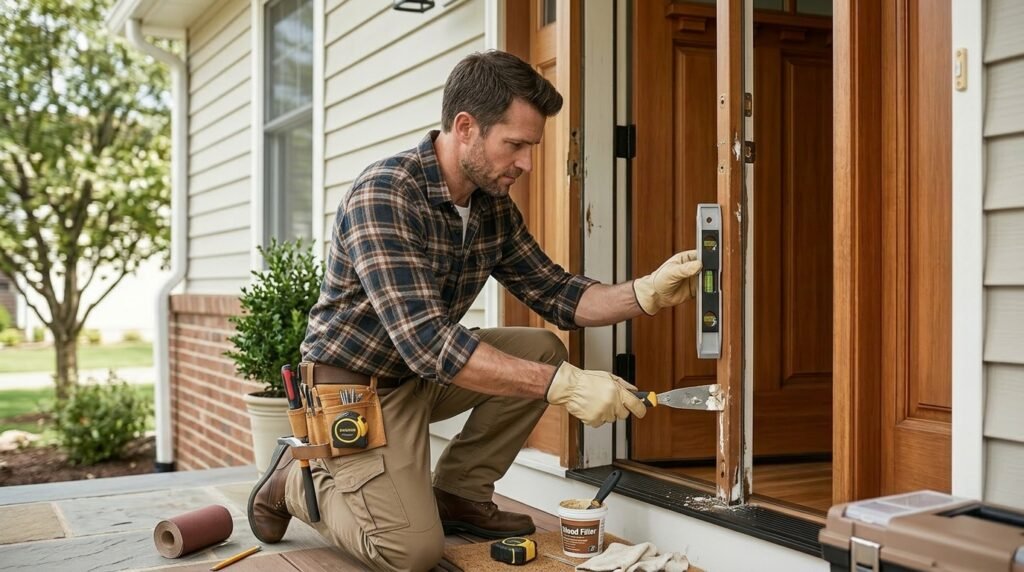
Step 1 – Prepare the Door Frame
Start by thoroughly inspecting your existing door frame. Look for rot, warping, or damage, especially at the sill and corners. A compromised frame won’t hold the new door securely, so repair any issues before moving on.
Clean the brick molding area with a damp cloth and let it dry. Remove any old caulk or paint buildup that might prevent a flush fit. If your old storm door left behind screw holes or hardware, fill them with wood filler and sand smooth.
This prep work is where most beginners cut corners and then wonder why their door doesn’t sit right. Don’t skip it.
Step 2 – Attach the Hinges
Most storm door kits include a hinge rail, a vertical strip that runs the full height of the hinge side. Position this rail against the brick molding on the hinge side of the opening. Use your level to confirm it’s perfectly plumb (straight up and down).
Once it’s true vertical, mark the screw holes with a pencil, pre-drill pilot holes to prevent splitting, then drive in the screws. Don’t fully tighten yet. You may need minor adjustments once the door is hung.
Door frame alignment at this stage determines how the entire door swings and seals. A hinge rail that’s even slightly off-plumb will cause gaps, sticking, or misalignment at the latch side.
Step 3 – Install the Door
With the hinge rail in place, hang the storm door onto the hinges according to your kit’s instructions, typically by sliding the door’s hinge pins into the rail. Have a helper hold the door steady while you connect it. Storm doors are heavier than they look.
Once hung, open and close the door several times to check the swing. It should move freely without scraping the sill or frame. If it binds, loosen the hinge rail screws slightly and adjust the alignment before retightening.
Step 4 – Secure the Frame
Now install the latch-side rail (the Z-bar or strike rail). Close the door and hold the Z-bar snug against the door’s edge, then mark and drill pilot holes. The goal is a tight but not compressed fit, so the door should latch cleanly without rattling.
Next, install the top expander and the bottom sweep. The top expander seals the gap between the door and the top of the frame. The bottom sweep presses against the door sill to block drafts, water, and insects. Trim both to width if needed using a hacksaw.
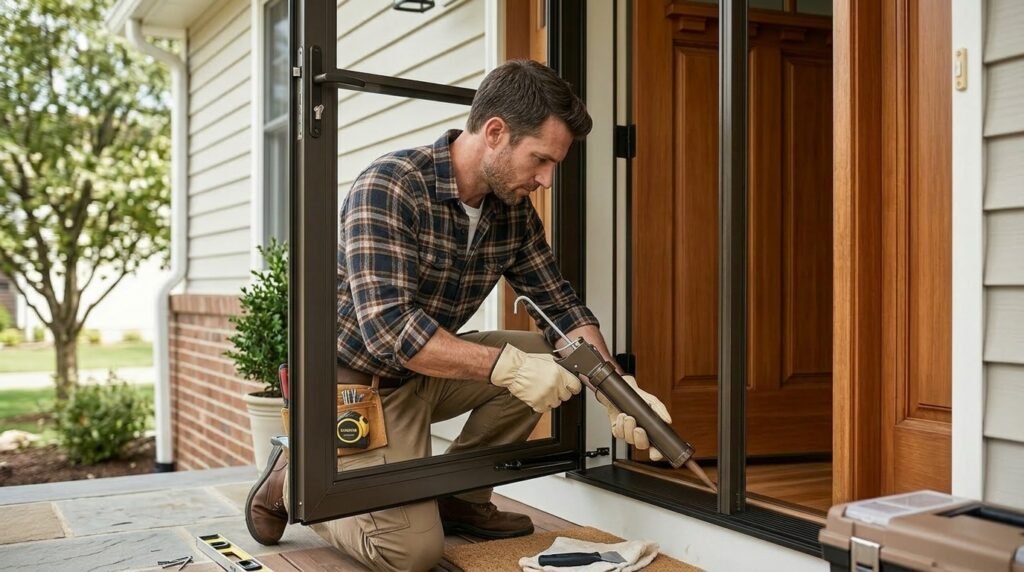
Apply a bead of exterior caulk along the outer edge of all rails where they meet the brick molding. This is your final line of defense against water infiltration. Don’t skip it. Smooth the caulk with a wet finger for a clean finish.
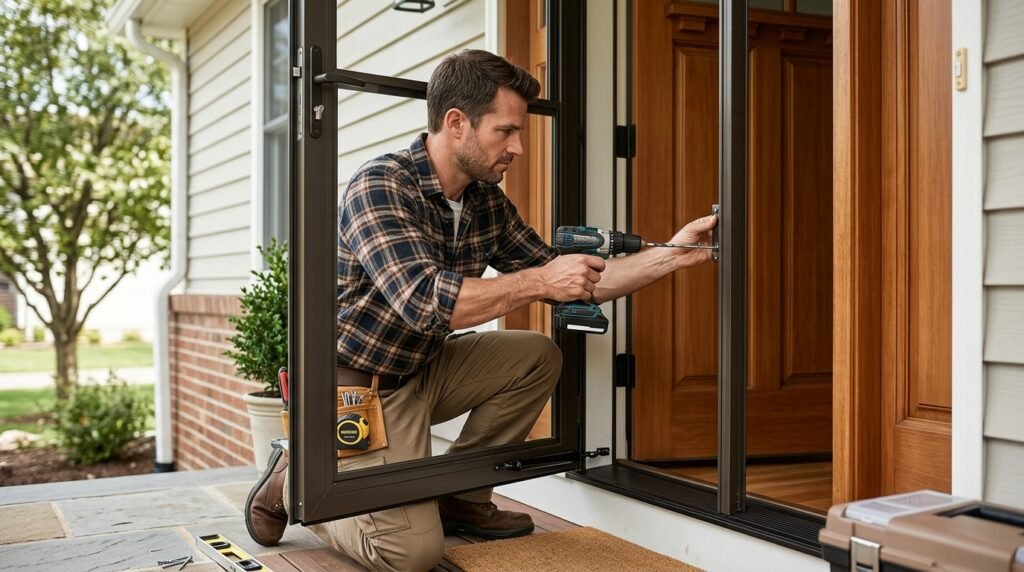
Step 5 – Install Handle and Closer
Attach the door handle and latch hardware following the kit’s diagram. Most handles snap or screw into pre-drilled holes in the door. Test the latch mechanism to ensure it catches firmly and releases cleanly.
Finally, install the door closer, the pneumatic arm that controls how fast the door swings shut. Mount the bracket to the door frame first, then connect the arm to the door. Adjust the tension screw on the closer body to set the closing speed. A slower close is gentler on the door and frame.
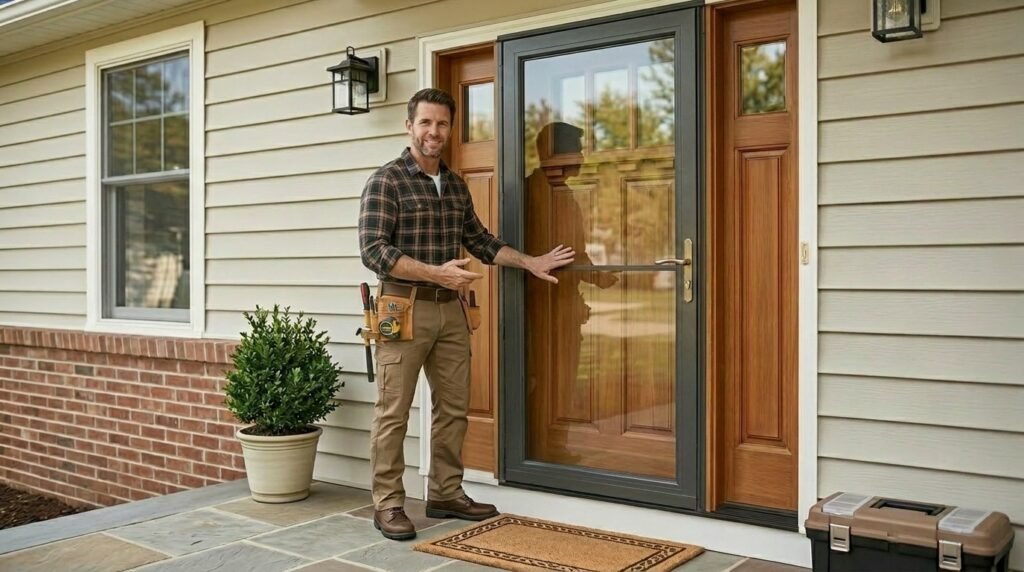
Give the entire door a final check: swing it open and closed, latch it, inspect the seals all around. If everything looks tight and moves smoothly, you’re done.
Common Mistakes to Avoid
Even experienced DIYers run into these pitfalls. Knowing them in advance saves you time, frustration, and money.
Misalignment
Misalignment causes more problems than any other mistake in storm door installation. If your hinge rail isn’t plumb, the door will never hang correctly. Always use a level. Don’t eyeball it. Check vertical alignment at multiple points along the rail’s length, not just at the top.
Incorrect Measurements
Buying the wrong size door is an expensive mistake. Remember: measure the opening, not the existing door. Take three measurements for both width and height, and use the smallest. Getting the hinge orientation wrong (left-hand vs. right-hand door) is also surprisingly common, so double-check before purchasing.
Poor Sealing
Skipping or rushing the caulk step defeats half the purpose of installing a weather protection door. Use a quality exterior caulk rated for wood and metal, and apply it generously at every junction between the door frame and the brick molding. Also ensure the bottom sweep presses firmly against the sill; a gap there lets in cold air, water, and pests.
Overtightening Screws
It’s tempting to crank down every screw as tight as possible, but overtightening can strip the wood, warp the frame rails, or cause the door to bind. Tighten screws until they’re snug and secure, not until the frame flexes.
Using the Wrong Caulk
Standard interior caulk breaks down quickly when exposed to outdoor temperature swings and moisture. Always use an exterior-grade caulk and look for products rated for wood-to-metal applications. Silicone or siliconized latex formulas hold up best.
DIY vs. Professional Installation
Wondering whether to learn how to install a storm door yourself or hire a professional? Here’s an honest breakdown.
Cost Comparison
A typical storm door costs between $150 and $400 depending on style and features. Professional installation adds $75 to $200 on top of that, bringing your total to $225-$600. DIY installation eliminates labor costs entirely; you just pay for the door and any tools you don’t already own.
If you already have a drill and basic hand tools, DIY is clearly the more economical choice for a single door installation.
Time vs. Skill
A beginner with no prior door installation experience can realistically complete this project in 2-4 hours. A professional handyman will likely finish in under an hour. The question is whether your time is better spent elsewhere.
If your door frame has significant damage, is out of square, or the opening is non-standard, professional installation makes more sense. Likewise, if you’re uncomfortable using power tools, hiring help is the safer call.
For a standard, square door opening and a first-time DIYer with moderate comfort using a drill, this is absolutely a manageable weekend project.
Frequently Asked Questions
Can I install a storm door on any entry door?
Most standard entry doors accept a storm door without modification. The main requirements are that your door frame has brick molding (the exterior trim) for the storm door rails to attach to, and that the opening measures a standard width (32″, 34″, or 36″). Non-standard or severely damaged frames may need repair or professional assessment first.
Do I need a permit to install a storm door?
In most jurisdictions, replacing or adding a storm door does not require a building permit, as it’s considered routine maintenance rather than structural work. That said, rules vary by location, so check with your local building department if you’re unsure.
How long does a storm door last?
A quality aluminum or steel storm door typically lasts 20-30 years with normal maintenance. Longevity depends on the quality of the door itself, how well it was installed, and whether caulk and weatherstripping are refreshed every few years.
Can a storm door be installed on a door that swings outward?
Standard storm doors are designed for inward-swinging entry doors. If your primary door swings outward, a storm door cannot be installed in the traditional way. You would need a specialty “outswing” configuration, which is far less common and typically requires a professional assessment.
What’s the difference between a storm door and a screen door?
A screen door has a fixed screen panel and provides ventilation and insect protection, but little weather protection. A storm door typically includes interchangeable glass and screen panels, a tighter seal against the frame, and significantly better insulation and weather resistance. Storm doors are the more versatile, year-round option.
Ready to Install Your Storm Door?
Installing a storm door is one of the most practical home improvement projects you can take on this weekend. The benefits are real and measurable: lower energy bills, better weather protection, and improved ventilation. It doesn’t require specialist skills or expensive equipment.
The key is preparation: measure accurately, prep your frame properly, and don’t rush the alignment. Follow each step in order, use your level religiously, and seal every joint with exterior-grade caulk. Do those things right, and your storm door will serve you well for decades.
Grab your tape measure, pick up the right door size, and get started. You’ll be surprised how quickly this project comes together. When you’re done, come back and tell us how it went in the comments below.